
⚠️ BigSoundBank needs you to stay alive! Make a (small) donation ⚠️
We all know that compressors play a crucial role in music production. They are designed to make the track more dynamic by compressing the signal according to the producer's taste. There are many other features of a compressor like gluing two signals together so that it sits well in the mix or compressing a signal to make it punchier and more active from other signals
The proper knowledge of using a compressor is an absolute game-changer for all Sound Professionals, so today we will be talking about How to Use a Compressor!
A compressor is a tool to control the dynamic range of audio signals. It is an audio effect that assists in balancing out the volume differences between various components of a recording or mix. If you have worked with audio, you would know many variations in the volume levels of different sounds or instruments. These variations can make it challenging to achieve a balanced and consistent sound.
A Compressor will help you address these issues by reducing the dynamic range of an audio signal simply by compressing the louder part of the mix and leaving the quieter parts unaffected. Compressors have many parameters that can be altered to control the level of compression applied to the audio signal.
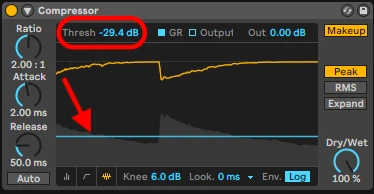
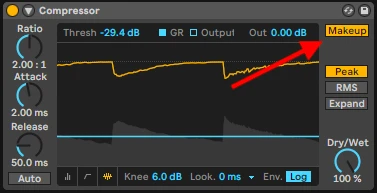
A preset threshold tells the compressor when to start reducing the signal volume. The compression will affect any signal above the threshold, and below the threshold will be unaffected.
The ratio you set will determine the amount of gain reduction applied to the signal above the threshold. For example, a 2:1 ratio means that for every 2 dB, the signal exceeds the threshold, and the compressor will only allow 1 dB to pass through.
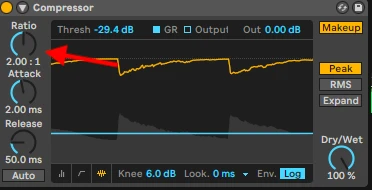
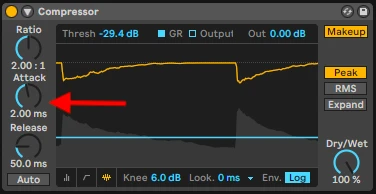
It determines how quickly the compressor responds to signals that exceed the threshold. Short attacks make the signal tight, and slow attacks make the signal loud. A shorter attack time means the compression engages faster.
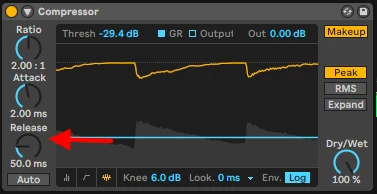
This parameter controls how quickly the compressor stops reducing the gain after the signal falls below the threshold. A shorter release time means the gain reduction stops more quickly.
After audio compression, the overall level of the audio may be reduced. Makeup gain allows you to boost the compressed signal to a desired level. It is an auto-gain mode, you can set it manually by turning it off and increasing the volume manually.
Let's say you're working on a mix that includes a vocal track, a bass guitar track, and a drum track. Each of these tracks has its dynamic range, meaning certain parts may be louder or quieter than others.
In this example, let's assume that the guitarist has a very dynamic performance, with some parts being loud and powerful while others are softer and more delicate. Without dynamic control, the softer parts might get lost in the mix, and the louder parts might overpower other elements.
To address this, you can use a compressor to compress the vocal track and achieve a more balanced sound.
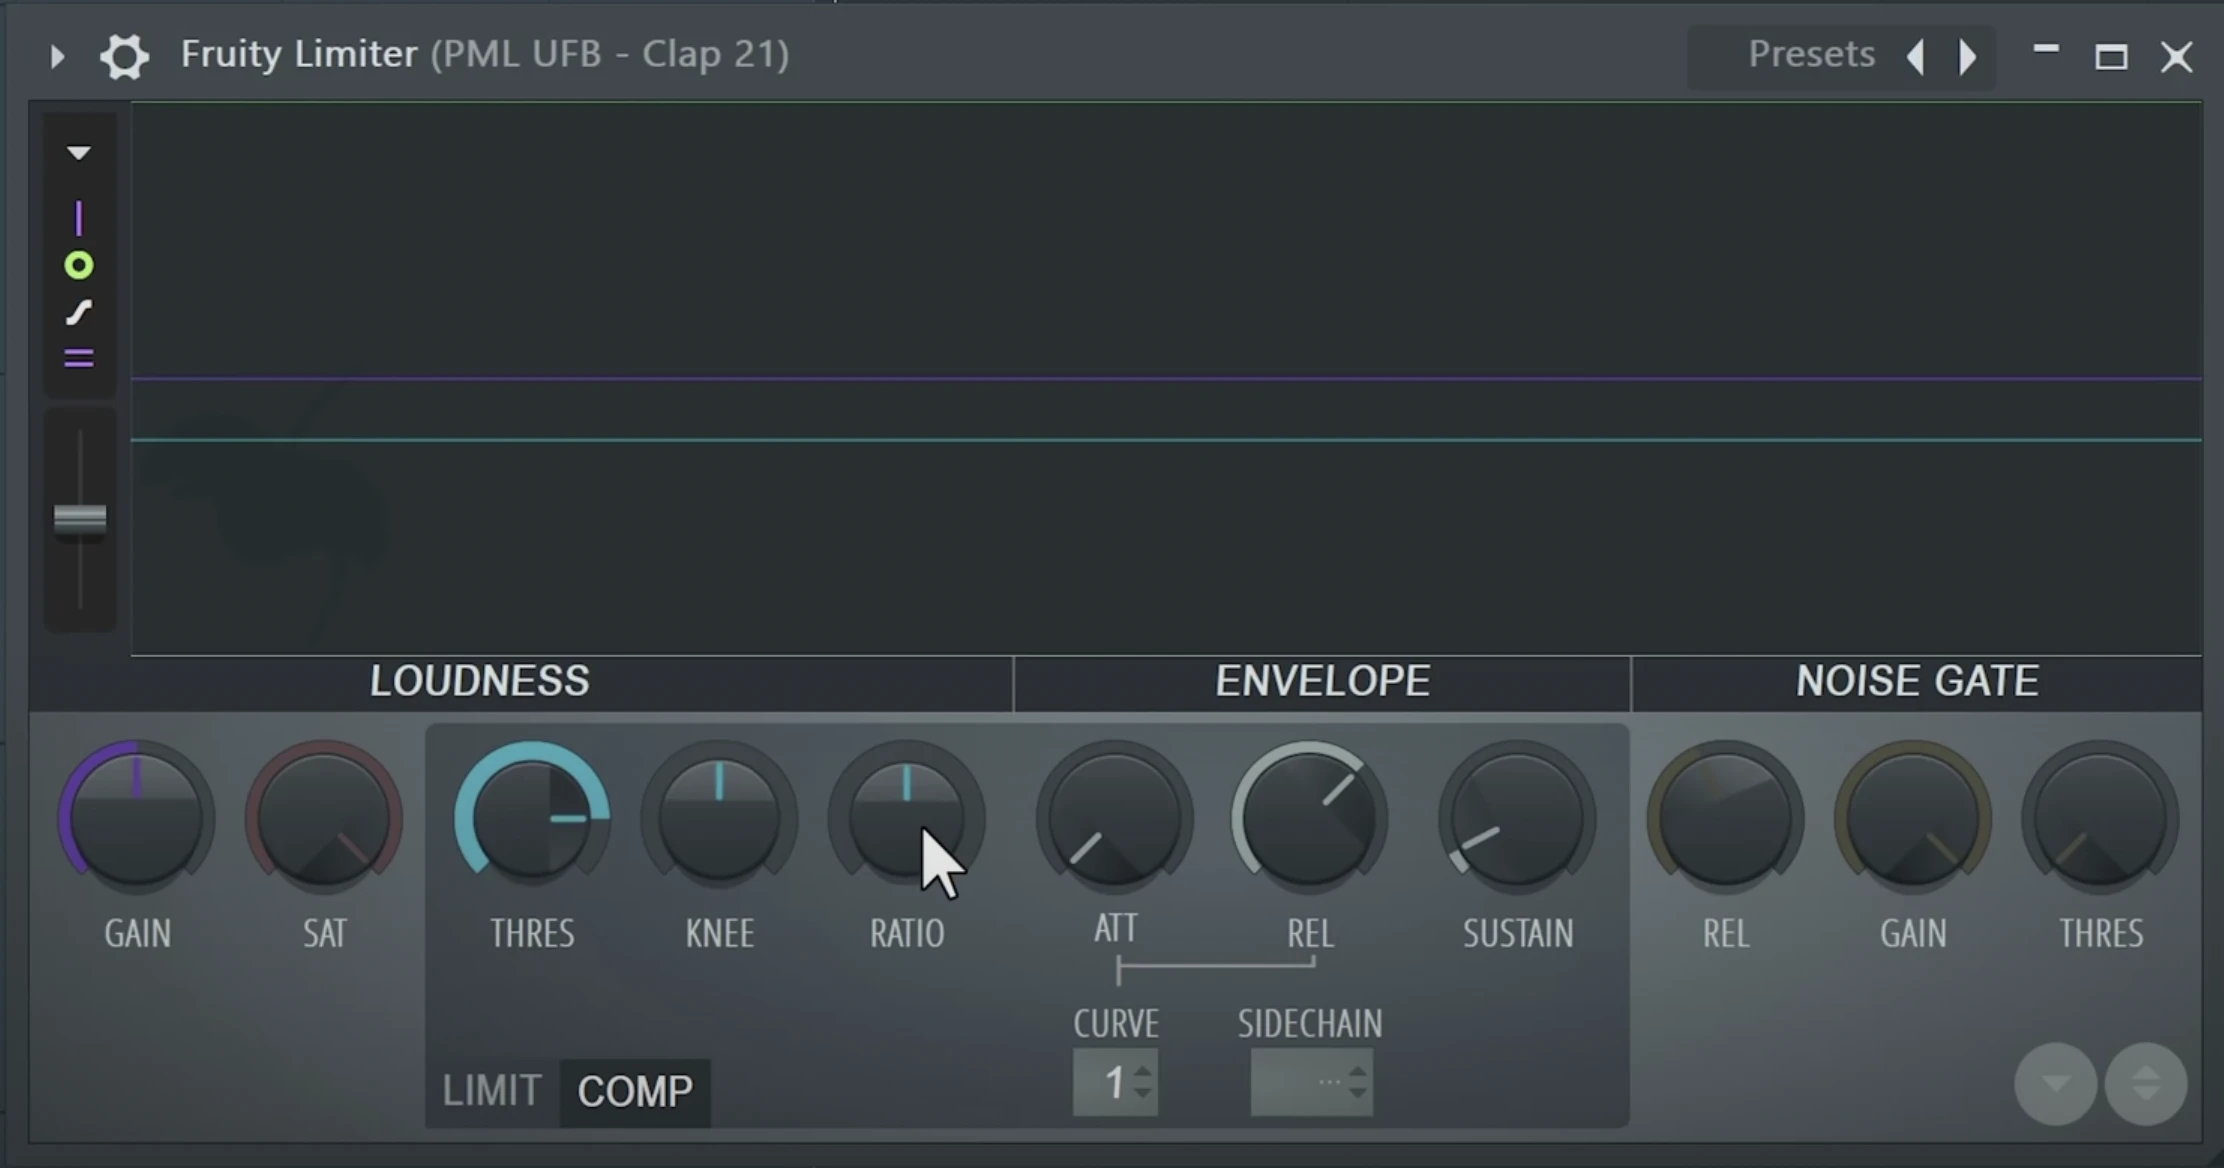
Step 1: Insert a compressor plugin of your choice on the guitar track or add the Fruity Limiter to the track. Fruity Limiter.png
Step 2: Set the threshold parameter of the compressor. The threshold determines the level at which the compression starts to take effect. For example, if you set the threshold to -20 dB, any part of the guitar track that exceeds -20 dB will be compressed.
Step 3: Adjust the ratio parameter. The ratio determines the gain reduction applied to the signal above the threshold. For this example, let's set the ratio to 2:1.
Step 4: Set the attack time. The attack time determines how quickly the compressor responds to signals that exceed the threshold. If the guitar has quick transients or sharp peaks, a faster attack time can help catch them. For this example, set the attack time to 10-20 milliseconds.
Step 5: Adjust the release time. The release time determines how quickly the compressor stops reducing the gain after the signal falls below the threshold. A longer release time can give a more natural and transparent sound. Start with a 100-200 milliseconds release time and tweak as needed.
Step 6: Use the makeup gain to compensate for any reduction in the overall level caused by the compression. Increase the makeup gain to restore the compressed guitar track to a desirable level in the mix.
Compression to the guitar track can achieve more consistent volume levels throughout the performance. The compressor will automatically reduce the gain of the louder parts, allowing the softer nuances to be more audible and bringing the overall dynamic range under control.
This helps the guitar sit better in the mix and prevents it from overpowering other instruments or getting lost in quieter sections.
A common method in music production is sidechain compression, which includes manipulating the volume of one audio source to influence the compression of another signal dynamically. Certain components of a mix can stand out more clearly due to its rhythmic pumping effect.
The basic concept of sidechain compression is to use an external audio source, often a kick drum or a bassline, to trigger the compression on another track.
Step 1: Set up two tracks in your DAW: the "source" and the "destination" tracks. The source track is the audio signal that will control the compression, while the destination track is the one you want to apply the sidechain compression to.
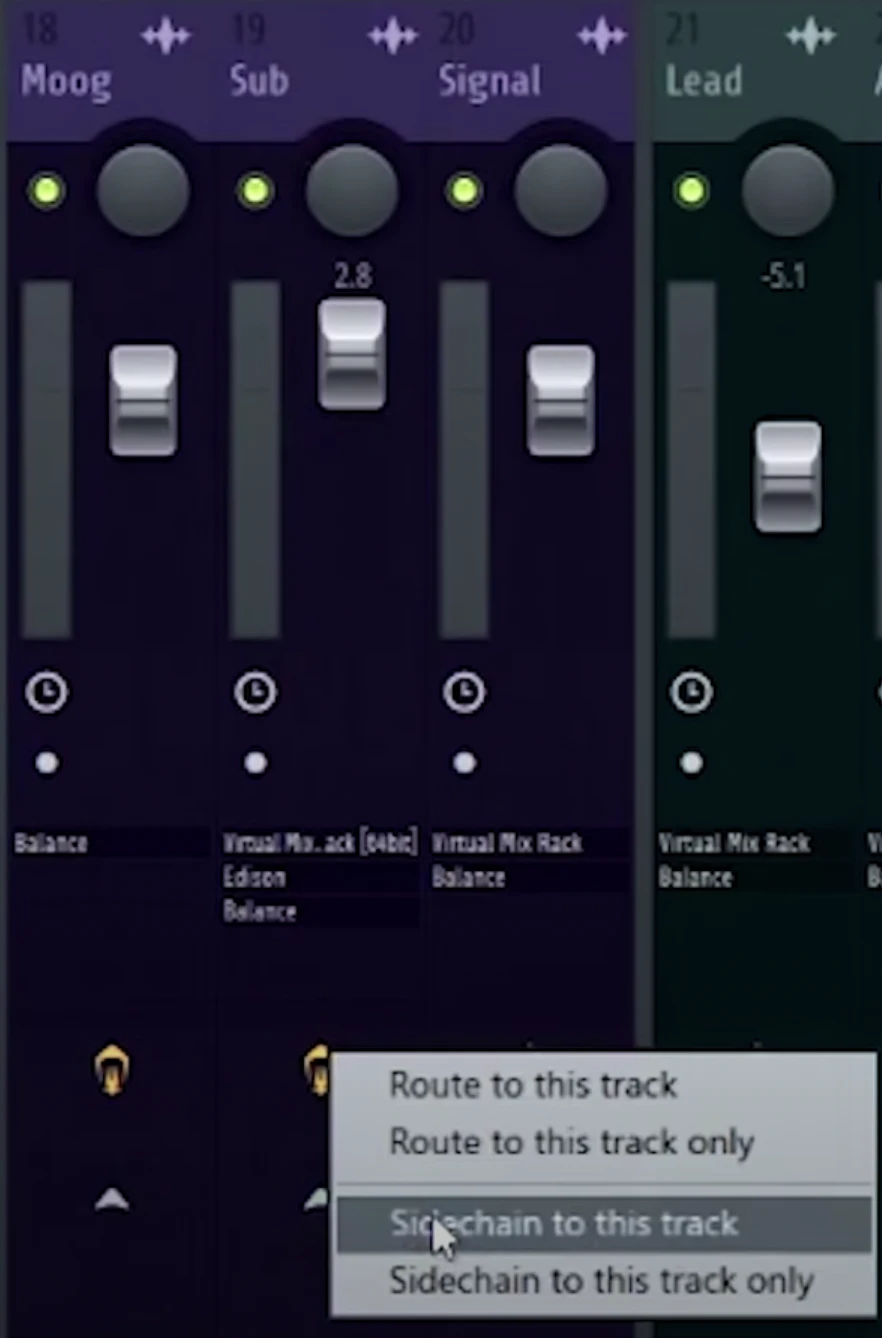
Step 2: Once you have put both the tracks in place, right-click on the one you will use for the sidechain and then select the “Sidechain to this track” option from the drop-down menu.
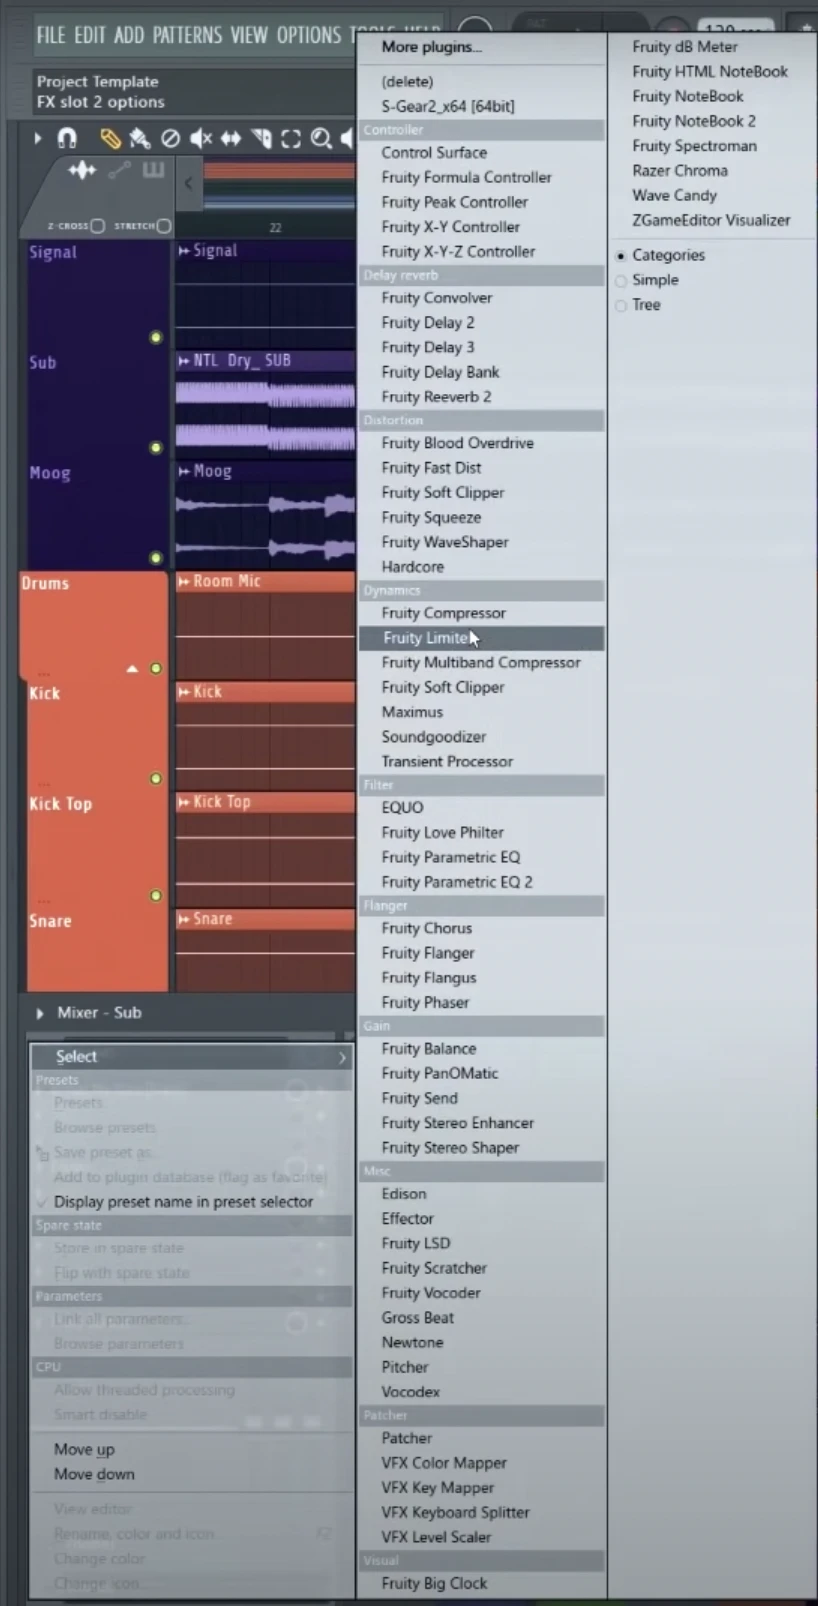
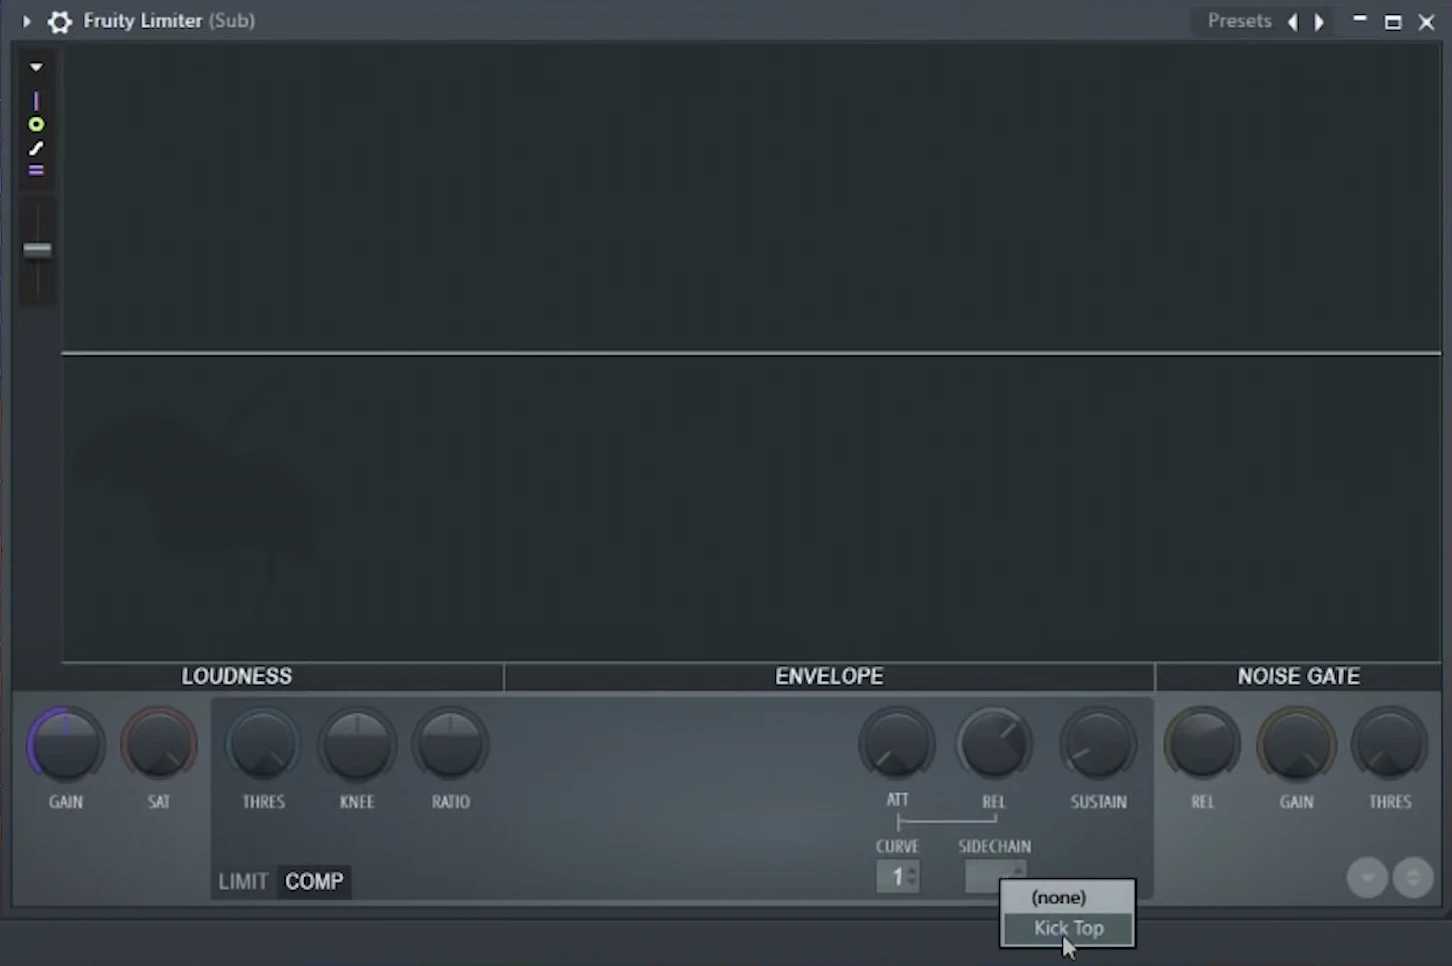
Step 3: Select the “Fruity Limiter” tool from the effects channel and switch to the compression section. Right-click from the sidechain option on the bottom and select the desired option.
Step 4: To get the desired result, alter the destination track's compressor parameters. Set the threshold first to establish the point at which compression will begin to operate. The destination track's compression will be started by input from the source track.
Step 5: Set the attack time to control how quickly the compression engages after the trigger signal exceeds the threshold and then adjust the release time to determine how quickly the compression releases after the trigger signal falls below the threshold.
Step 6: To shape the compressed sound and restore the overall level to the desired level in the mix, refine the ratio and makeup gain settings.
When we talk about "glueing" two signals together using a compressor, we mean using compression to create a cohesive and unified sound by reducing the dynamic differences between the signals. This technique is often employed to make different elements of a mix sound more cohesive and blend.
To achieve this, you can use bus compression, where you send multiple tracks to a common bus track and apply compression on that bus track.
Create a new bus track in your DAW and route the individual drum tracks to it.
Step 1: Insert a compressor plugin on the bus track or use the inbuilt Fruity Limiter option.
Step 2: Set the compressor parameters to achieve the desired effect. Start by adjusting the threshold to determine when the compression will start. Set a ratio that suits the mix; 2:1 or 4:1 is common for bus compression.
Step 3: Adjust the attack and release times based on the drum mix. For example, if you want the compressor to react quickly to the transients of the drums, set a faster attack time. A medium release time of around 50-200 milliseconds is often a good starting point.
Step 4: Apply makeup gain on the compressor to bring the overall level of the compressed drum mix back to the desired level.
By using bus compression, the drums will have a more consistent and balanced sound, with the quieter parts enhanced and the louder parts controlled. This technique helps the drums sit well in the mix and creates a solid foundation for the other elements of the music.
We can fairly conclude that mastering the art of using a compressor can play a crucial role in achieving professional-quality audio in Music Production. The first thing is to understand the fundamentals like the threshold, ratio, attack time, release time, and makeup gain.
Whether it's controlling dynamic range, gluing signals together, or employing sidechain compression, compressors offer endless creative possibilities. With practice and experimentation, you'll develop your unique style and discover the true power of this versatile tool.
♥ - Joseph SARDIN - Founder of BigSoundBank.com - About - Contact
Be the first to give an opinion!